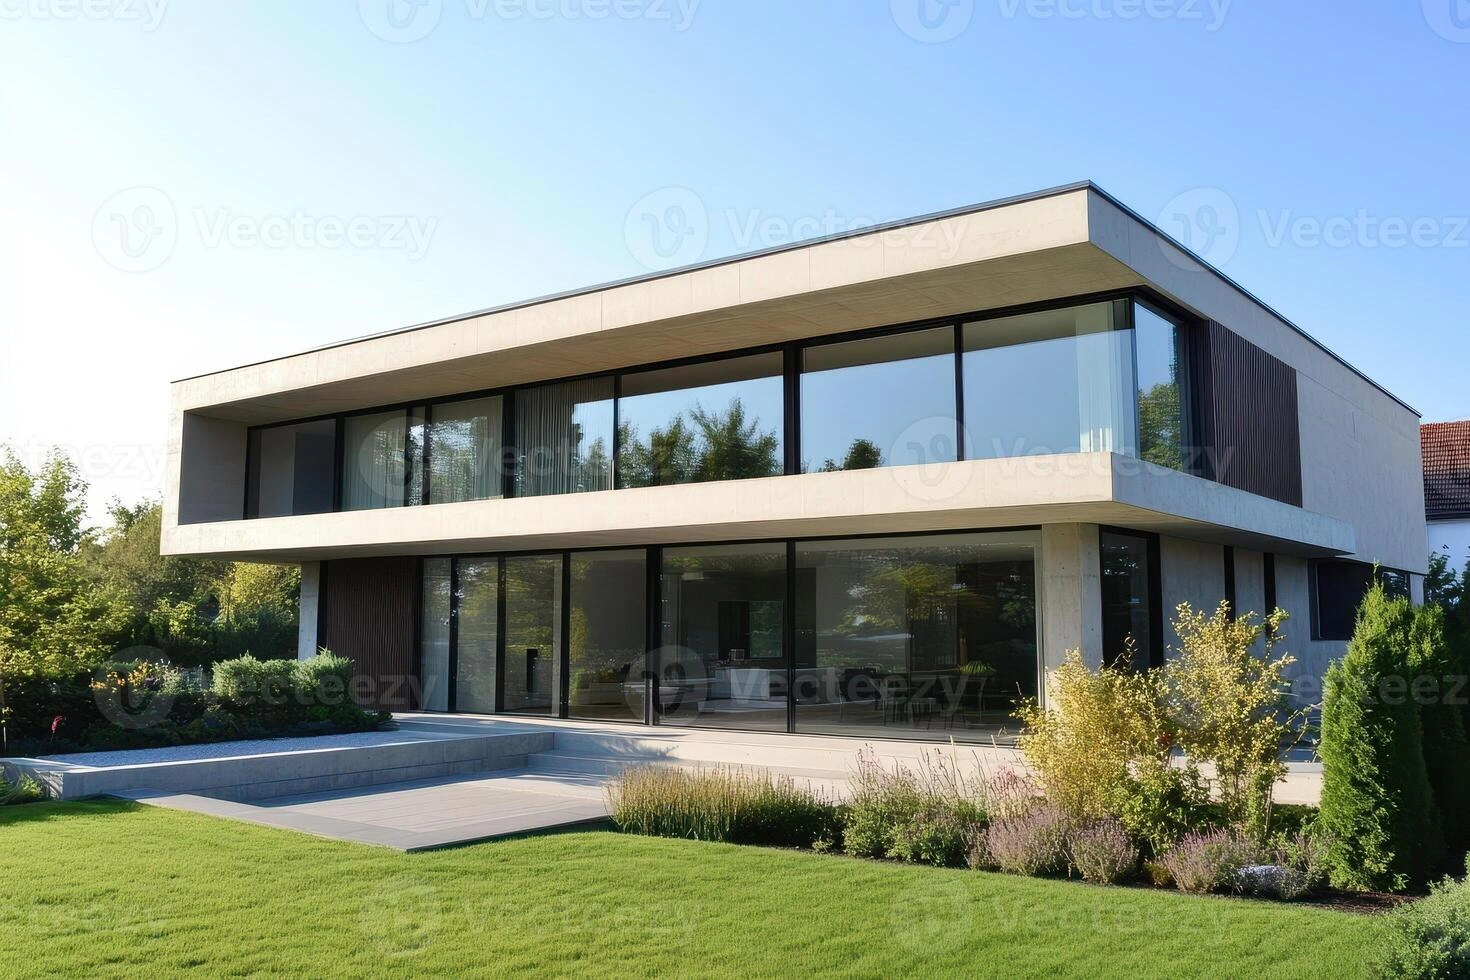
EER Nathers Certificate for your new or existing project
Get your certificate within 2 business days
EER Nathers Rating
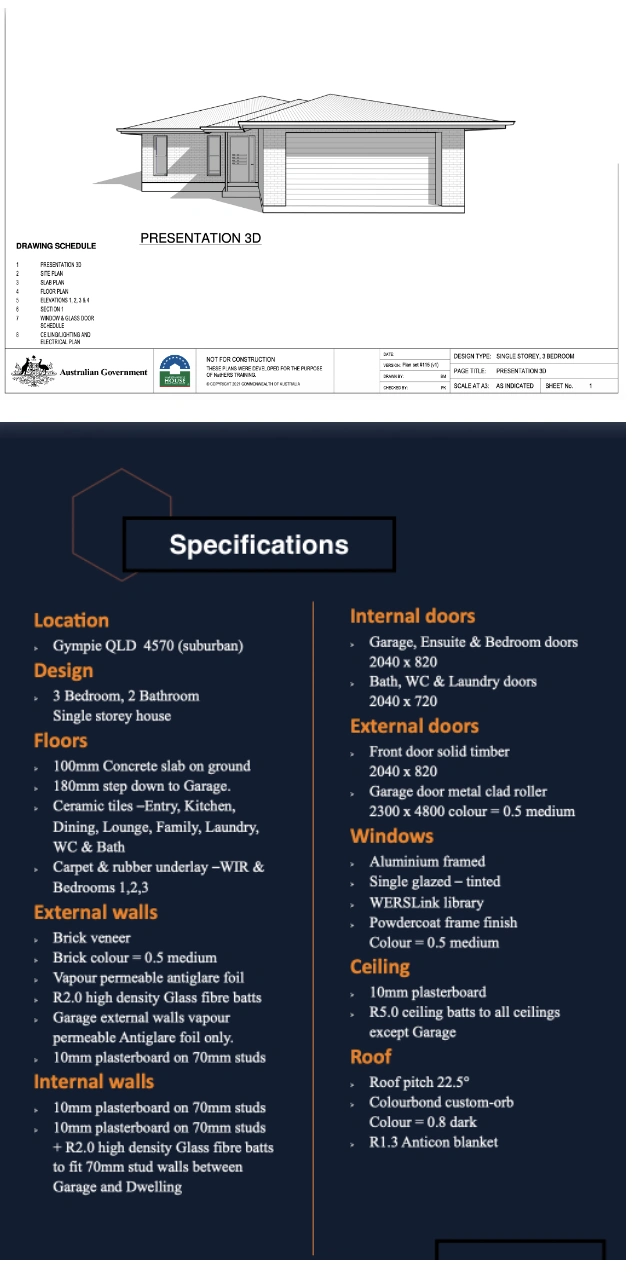
NATHERS EER Certificate
If you are building a new building or an extension to an existing building you will need a NATHERS EER certificate to demonstrate compliance with the existing homes energy efficiency rating, currently EER 7.
Order your certificate here
Click on one of the Paypal links below to pay for your order. You will receive your Draft certificate before 9 pm the second working day after your order. (Ex: If you place your order Monday at 11:00 am you will receive your certificate before Wednesday 9 pm). After you confirm the Draft Certificate you will receive the official certificate on the same day. For urgent deliveries within 24 hours please add the Urgent Delivery payment of $100.
For changes to the Certificate after it was generated, a fee of $50 + $100/hour applies.
One level floor plan
One level floor plan - built area less than 120m2 - $200
(+$50 certificate fee) https://www.paypal.com/ncp/payment/5LWRJ63FLKSB2
One level floor plan - built area 120-180 m2 - $300
(+$50 certificate fee)
One level floor plan - built area 180-250 m2 - $400
(+$50 certificate fee) https://www.paypal.com/ncp/payment/HGSGAE4GD4CNJ
One level floor plan - built area 250 - 400 m2 - $500
(+$50 certificate fee) https://www.paypal.com/ncp/payment/79YU98DXM2QKE
Two levels floor plan
Two levels floor plan - built area less than 120m2 - $300
(+$50 certificate fee) https://www.paypal.com/ncp/payment/5C9SXG5WKFTJ6
Two levels floor plan - built area 120-180 m2 - $400
(+$50 certificate fee) https://www.paypal.com/ncp/payment/WEFZMYNF474ZE
Two levels floor plan - built area less than 180-250 m2 - $500
(+$50 certificate fee) https://www.paypal.com/ncp/payment/NSFDFSVYASJ4C
Two levels floor plan - built area less than 250 - 400 m2 - $600
(+$50 certificate fee) https://www.paypal.com/ncp/payment/4WNSJUTMDBAL2
Urgent delivery
(delivery before next day 1700 o'clock) - +$100
https://www.paypal.com/ncp/payment/MU7JBKWDC8F2L
Whole Of Home calculation
(to include Whole Of Home - WOH - calculation ) - +$100
https://www.paypal.com/ncp/payment/TPRXRW9T9BU8C
NSW BASIX Certificate
(for BASIX certificate) - +$100
For a NSW BASIX it is needed to do the NATHERS modelling, input the data into the NSW BASIX website and pay a $50 fee
https://www.paypal.com/ncp/payment/VENQBZDYCB8T8
If your project parameters fall outside the above specifications please email alex@plushomes.com.au and attach plans and specifications to receive a specific quote
After you pay, email your plans and your specifications in PDF format to alex@plushomes.com.au
Frequently Asked Questions
In order to obtain a Building Approval (BA) you will need to provide an EER certificate to your Building Certifier.
Once you provide all necessary documents and pay the fee, it takes 2 working days to receive your certificate. If your plan does not achieve an EER 7 we will tell you what upgrades need to be made to the Plans or Building Specifications in order to achieve EER 7.
You will need to provide the Full Plans and the Building Specifications.
Documentation
Minimum documentation required includes:
• drawing set (site plan, floor plan, elevations and sections) with a true north point
• lighting location plan/electrical schedule and details of any exhaust fans
• construction details
• window information - an individual window and door size schedule and clearly noted floor plans or elevations showing the window operating type, height, head height, width and frame type, and skylight and roof window details. U value and SHGC are also needed for an accurate EER modelling.
SITE PLAN
Minimum requirements include:
- north point indicating true north
- location postcode
FLOOR PLAN/S
Minimum requirements include:
- room layout and room names or types
- building and room dimensions
- window and door locations
- numbering of individual dwellings (for Class 2 buildings)
- window and door sizes
- floor coverings
- locations of ceiling penetrations such as exhaust fans and downlights
- location of ceiling fans
- shading structures such as eaves, pergolas and privacy screens
ELEVATIONS
Minimum requirements include:
- window and door location, size and opening type
- roof pitch, material and style (roof cover materials, anticon blanket R value, insulation type and R value)
- external wall materials (external cladding, insulation type and R value, house wrap type, interior materials, type of frame)
- external wall and roof colours
- shading structures such as eaves, pergolas and privacy screens
- ground level/s, floor level/s, and relative ceiling height/s
SECTIONS
Minimum requirements include:
- ground level/s, floor level/s, and relative ceiling heights
- roof construction, materials and systems, location of insulation
- subfloor construction
- window head hight
- stair details
We provide Nathers EER Certificates for all Australian states and territories, except WA.
Many plans do not reach an EER 7 which is mandatory. In this case the certifier will suggest certain upgrades to reach the minimum mandatory requirements.
These are the possible upgrades listed in order from the cheapest to the most expensive :
1. External and Roof Color Optimization (Solar Absorptance)
Cost: Zero to very low.
How it works: Changing the color classification of external walls or roof materials changes how much solar radiation the building absorbs. In cold, heating-dominated climates like Canberra, choosing a darker external wall finish helps absorb free winter solar heat. In hot climates, a lighter roof reflects summer heat.
Example: Changing a light-colored external render (Solar Absorptance $\approx$ 0.35) to a medium or dark charcoal finish ($\approx$ 0.70) to pull passive winter warmth into the structural envelope.
2. Internal Floor Covering Adjustments (Thermal Mass Optimization)
Cost: Zero to low (reallocating existing finishes).
How it works: Hard floor coverings like tiles or polished concrete laid over a ground slab allow the thermal mass of the concrete to absorb, store, and slowly re-radiate heat. Carpet acts as an insulator, blocking the slab from absorbing daytime solar energy.
Example: Swapping carpet for ceramic tiles in a large north-facing open-plan kitchen and living zone so the slab can soak up direct winter sunlight.
3. Upgrading Window Coverings (Internal Shading)
Cost: Low to Medium.
How it works: Specifying high-performance internal window coverings in the software drastically cuts down on nighttime heat loss through the glass in winter.
Example: Changing the window covering input from "None" or standard venetian blinds to "Heavy Drapes with Pelmets" or cellular honeycomb blinds on all major living area glazing.
4. Splitting Open-Plan Areas (Zoning & Internal Doors)
Cost: Medium.
How it works: Huge open-plan spaces force the simulation engine to assume the entire area must be conditioned simultaneously. Adding a physical partition wall or a set of closeable doors allows the engine to zone spaces independently, reducing the total energy required to heat or cool occupied rooms.
Example: Adding a set of double timber glazed doors to isolate a stairwell or a separate media room from the primary open-plan family kitchen area.
5. Moving to High-Density (HD) Wall Batts
Cost: Medium.
How it works: Standard residential wall insulation maxes out around R2.0 for a standard 90 mm stud frame cavity. High-density (HD) batts use more tightly packed, finer fibers to achieve higher thermal resistance (up to R2.5 or R2.7) within the exact same 90 mm physical depth.
Example: Swapping out standard R2.0 wall batts for 90 mm R2.7 Super High-Density fiberglass wall batts to increase thermal resistance without changing the structural timber framing.
6. Minimizing Thermal Bridging (Stud Spacing & Thermal Breaks)
Cost: Medium to High.
How it works: Repeating thermal bridging—where heat transfers straight through the timber or steel studs instead of the insulation—is strictly penalized under current NatHERS regulations. Widening the stud spacing reduces the amount of framing cutting through the insulation. For steel frames, adding a continuous external thermal break is essential.
Example: Increasing standard wall timber stud spacing from 450 mm centers to 600 mm centers to reduce the total physical timber footprint and maximize continuous insulation coverage.
7. Continuous Slab Edge Insulation
Cost: High.
How it works: A significant portion of a concrete slab's winter heat loss occurs horizontally out through the exposed vertical concrete edge. Wrapping the external perimeter of the slab in rigid high-density foam prevents this perimeter heat drain.
Example: Installing continuous R1.0 or R1.5 XPS (extruded polystyrene) board insulation around the entire vertical outer face of the concrete slab before backfilling.
8. Glazing and Frame Upgrades
Cost: Very High.
How it works: Windows are typically the weakest link in a building envelope. If standard double glazing fails, upgrading to low-emissivity (Low-E) glass coatings or swapping standard aluminum frames for thermally broken aluminum, uPVC, or timber frames will drastically cut energy transfer.
Example: Upgrading from a standard double-glazed aluminum window with clear glass ($U\text{-value } \approx 4.2$) to a thermally broken aluminum window featuring Argon-filled Low-E double glazing ($U\text{-value } \approx 1.9$).
To achieve a certified 7-Star Energy Efficiency Rating (EER) under the current National Construction Code (NCC 2022) guidelines, building specifications must move beyond simple "code minimums." Designing for a 7-star performance requires a holistic approach that balances thermal mass, high-performance glazing, optimized insulation layers, and strict draft management.
Below are the key design and specification considerations required to hit an EER 7, categorized by building element:
1. Passive Solar Design & Layout (The Foundation)
The orientation and layout of the home do the heavy lifting before any insulation is specified.
Orientation: Locate primary living areas (Kitchen, Dining, Family rooms) on the North/North-East side of the home to maximize winter solar heat gain. Sleep zones can be oriented to the cooler south or east.
Zoning: Design the home with closeable internal doors to partition off zones. Isolating massive open-plan areas, stairwells, and entry vestibules allows the compliance engine to zone spaces independently, dramatically reducing the calculated energy needed to heat or cool occupied rooms.
Shading: Specifying optimized eave overhangs (typically 450mm to 600mm depending on window height) blocks the high summer sun while allowing the lower winter sun to penetrate deep into the home.
2. High-Performance Glazing (The Critical Link)
Windows are typically the weakest thermal link in a building envelope, often accounting for the highest heat loss and gain.
Frame Selection: Move away from standard aluminum frames, which act as thermal bridges. Specify Thermally Broken Aluminum, uPVC, or Timber frames.
Glass Specification: Double glazing is mandatory, but look for a system with low-emissivity (Low-E) coatings and Argon gas-filled cavities. Aim for a total window system performance baseline of:
U-Value: Under 2.0 W/m2K (lower is better for stopping heat transfer).
SHGC (Solar Heat Gain Coefficient): Around 0.40 to 0.55 on northern aspects to let winter heat in, and lower (≈0.25) on western aspects to block harsh summer sun.
Glass-to-Floor Ratio: Keep the total glazing area balanced—ideally between 20% and 25% of the total floor area. Pushing past 30% glass-to-floor area drastically increases nighttime heat bleed in winter.
3. Floor Foundations & Thermal Mass
The ground slab should act as a continuous thermal battery for the home.
Floor Coverings: Specify hard, high-thermal-conductivity surfaces like ceramic tiles or polished concrete in northern-oriented living zones. Avoid covering northern concrete slabs with carpet or thick timber floating floors, which insulate the slab and prevent it from absorbing free solar energy.
Slab Edge Insulation: In cold climate zones (like Canberra), continuous vertical Slab Edge Insulation (minimum R1.0 to R1.5 XPS rigid foam) must be specified around the entire concrete perimeter. This stops winter ground chill from draining heat out through the edge of the slab.
4. Advanced Wall & Ceiling Insulation
To hit 7 stars, insulation density and continuous coverage matter more than raw thickness.
External Walls: Move up to R2.5 or R2.7 High-Density (HD) Wall Batts inside standard 90mm framing cavities. Standard R2.0 batts are no longer sufficient on their own in strict climates. Combine this with a continuous external weather barrier or vapor-permeable reflective sarking.
Ceiling & Roof Space: Specify a dual-layer system. Use a minimum R1.3 or R1.5 Anticon/Roof blanket directly under the metal or tile roof sheeting to stop radiant heat, combined with R6.0 to R7.0 bulk ceiling batts sitting flat on the ceiling plasterboard.
Zoned Internal Walls: Do not insulate all internal walls, as this traps heat in individual rooms. Instead, strategically target R2.5 acoustic/thermal batts strictly on internal walls bordering unconditioned spaces (such as walls dividing living spaces from the Garage or a Mudroom).
5. Mitigating Thermal Bridging & Drafts
Modern NatHERS software strictly penalizes structural heat leakage.
Framing Optimization: Consider specifying 600mm stud spacing instead of standard 450mm spacing where structurally permissible. This reduces the physical timber footprint cutting through your wall insulation, minimizing repeating thermal bridging penalties.
Airtightness & Penetrations: Specify certified IC-4 rated downlights (Insulation Coverable), which allow ceiling insulation to be laid continuously right over the fixture with 0mm clearance.
Sealed Services: Ensure all exhaust fans feature self-closing draft-dampers (mechanically sealed flaps) and that weather-stripping is specified to all external swinging and sliding doors to prevent simulated winter draft penalties.
In the Australian building industry, 7 Stars under the National Construction Code (NCC) is the mandatory legal baseline for thermal performance. Stepping up to 8 Stars moves the home into a specialized "High Performance" category.
Because the NatHERS rating scale is non-linear, an 8-star home uses roughly 30% less heating and cooling energy than a 7-star home of the exact same size.
The physical difference between the two ratings, along with a full analysis of the upfront costs and downstream financial benefits, involves several key factors:
1. What Changes Physically? (The Specification Shift)
To bridge the gap between 7 and 8 stars, the building envelope must be heavily optimized to restrict heat transfer:
Glazing: While a 7-star home can sometimes get away with standard thermally broken aluminum double glazing, an 8-star home typically demands uPVC or timber window frames paired with high-end Low-E insulated glass units (IGUs) filled with Argon gas.
Insulation: The home moves from standard wall insulation to Super High-Density wall batts (e.g., swapping R2.0 for R2.7 in a standard 90 mm frame) and requires thick, continuous wrapping layers like horizontal sub-slab/perimeter edge insulation.
Thermal Bridging & Framing: An 8-star design often widens timber stud framing to 600 mm centers (instead of 450 mm) to reduce the sheer amount of raw timber bleeding heat through the walls.
Airtightness: Achieving 8 stars generally requires wrapping the house in an airtight membrane and specifying mechanically sealed self-closing draft dampers on all internal wet area exhaust vents.
2. The Cost Differences
Upfront Capital Costs
Industry tracking data and regulatory modeling (such as data pulled from high-performance residential masterplans like The Cape project in Victoria) show that the marginal cost to jump from 7 stars to 8 stars is roughly $5,000 to $8,000 extra for an average-sized single residential dwelling.
The cost breakdown is typically distributed across these components:
Glazing Premium: $3,000 – $5,000 (upgrading to uPVC frames and premium glass coatings).
High-Density Insulation & Wraps: $1,500 – $2,500 (HD wall batts and under-slab foam perimeters).
Draft Sealing & Specialized Vents: $500 – $1,000.
Software Modeling Costs
Cost: Zero.
Note: Your energy assessor uses the exact same software engine to simulate the house. Reaching 8 stars doesn't cost more in certification fees; it just requires your designer to input higher-performing specifications.
3. The Benefit Differences
Slashed Energy Utilities (30% Consumption Drop)
The Benefit: An 8-star thermal shell requires roughly 30.5% less combined raw grid energy to stay comfortable compared to a 7-star container.
The Cash Impact: Depending on your lifestyle and the extreme summer/winter climate shifts of your area, moving from 7 to 8 stars shaves an additional $300 to $600+ off your utility bills every single year, on top of the savings a 7-star baseline already provides.
Drastic Payback Period (Return on Investment)
Because the construction cost increase is modest ($5,000–$8,000) and the downstream savings are immediate, the payback loop is short. For most builds, an 8-star envelope completely pays for itself in energy savings within 7 to 10 years. Over a standard 25-year mortgage lifecycle, the home nets thousands of dollars in pure profit.
Access to "Green Finance" Mortgage Discounts
Major Australian banking institutions heavily favor high-performance properties. Reaching a verified 8-star rating unlocks Green Home Loan discounts, which slice fractions of a percent off your variable mortgage rate. On a standard $600,000 home loan, even a tiny 0.2% rate discount saves you more money over the year than the physical cost of the insulation upgrades themselves.
True Resale Valuation Uplift
With utility tariffs continually rising across Australia, a certified 8-star rating acts as a massive premium on the real estate market. Buyers and renters look for homes that remain warm without needing the ducted reverse-cycle air conditioner running on high capacity 24/7.
The Bottom Line
If your house is already safely tracking at 6.9 or 7.0 stars, paying the nominal material premium to lock in an 8-star rating is almost always a financially sound choice. The minor upfront capital cost is quickly wiped out by immediate energy savings, increased household liveability, and long-term asset value.
Contact Us
Address
Kaleen ACT 2617, Australia
Phone
0435531277 (WhatsApp and Mobile)About Us
Fully qualified and accredited Nathers assessor based in Canberra, ACT.
Accreditation and member number: HERA10388